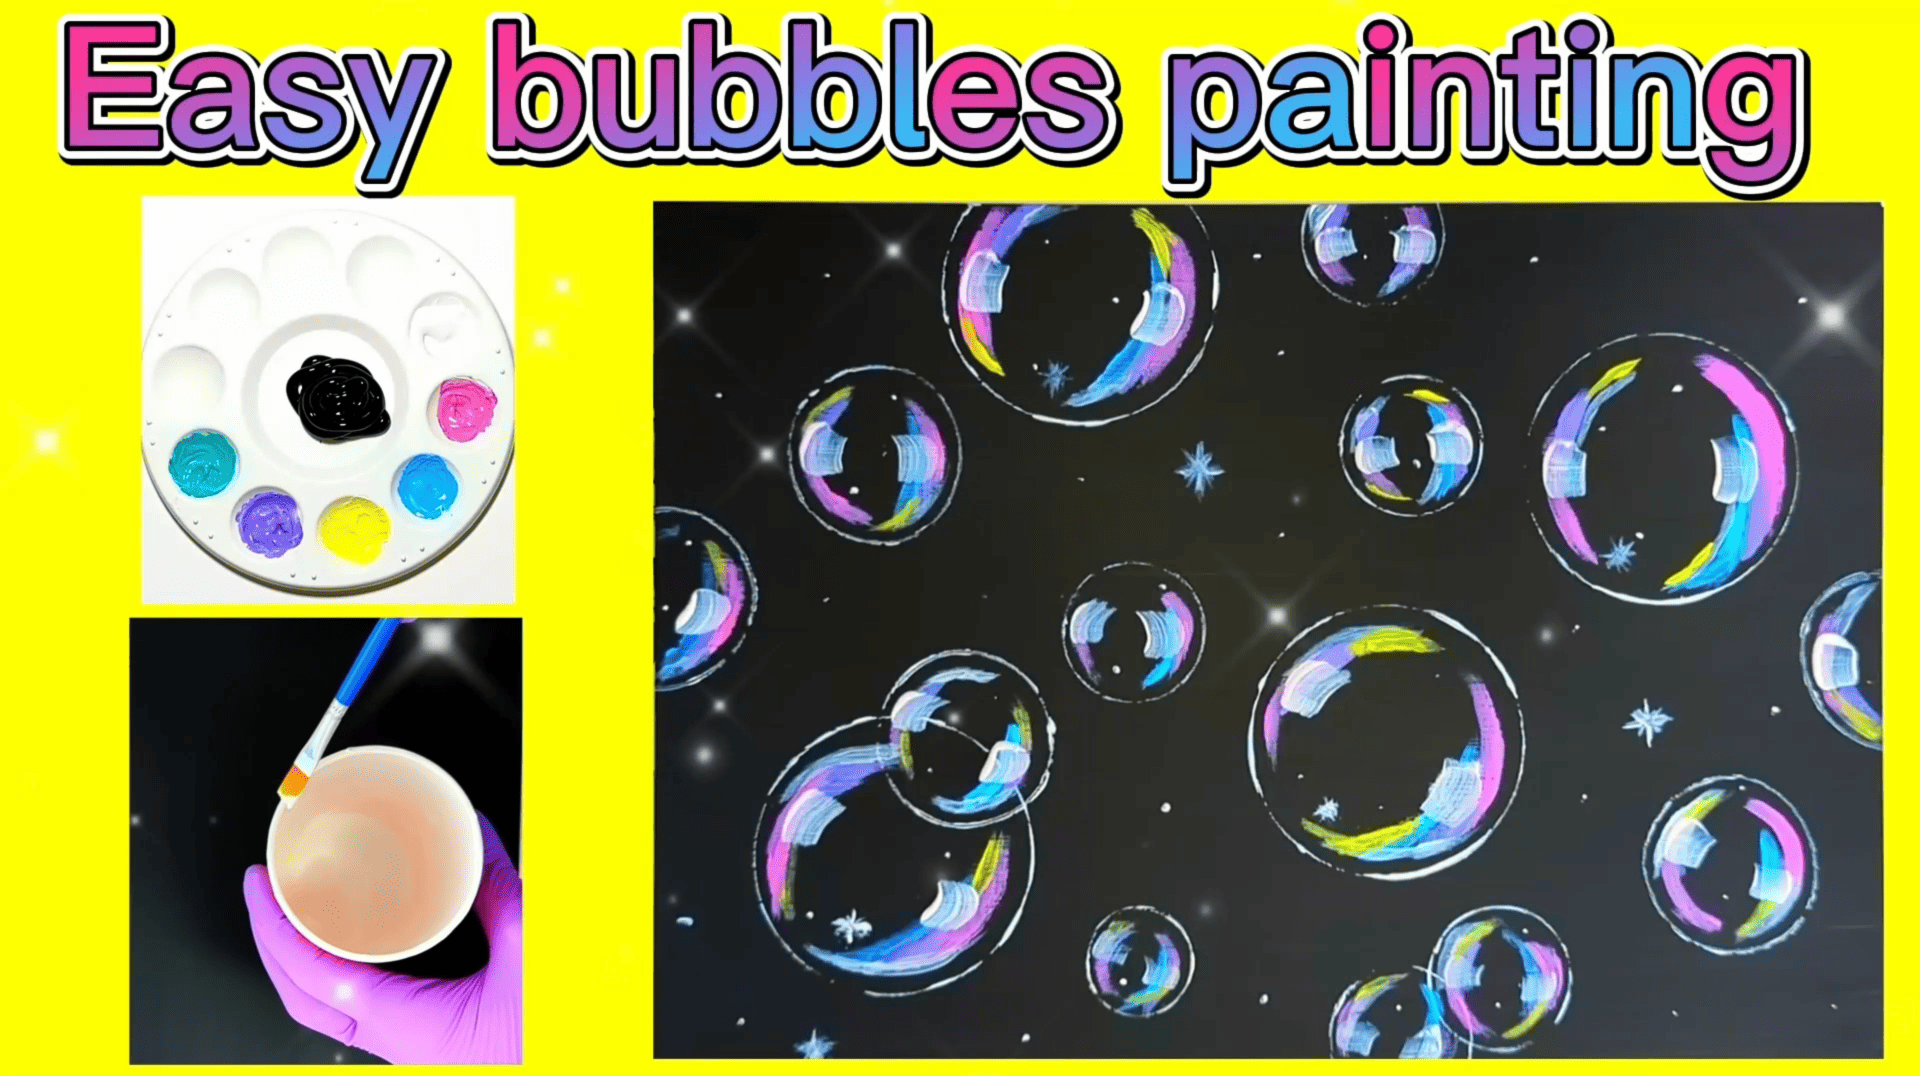
How to paint easy bubbles?
Painting Bubbles: A Fun and Easy Tutorial for Kids and Beginners
Hey there! Are you ready to have some fun with paint? In this tutorial, we are going to learn how to paint bubbles. Whether you’re a kid, a beginner, a parent, a teacher, or just someone looking for a creative activity, this step-by-step guide is perfect for you. So grab your paints and brushes, and let’s get started on this exciting painting adventure!
Introduction
Painting plays a crucial role in the development of children. Through painting, kids are able to express themselves creatively, explore their imagination, and develop their fine motor skills. Art promotes cognitive development by enhancing problem-solving abilities, critical thinking, and decision-making skills. It also helps children with emotional development by allowing them to express their feelings and emotions in a safe and non-verbal way. Moreover, engaging in art activities boosts self-esteem and confidence, as children feel a sense of accomplishment when they see their creations come to life. Painting activities provide a platform for parents and teachers to encourage and support children’s creativity, helping them to develop their unique talents and abilities.
Please note that some of the links provided in this article may be affiliate links. If you make a purchase using these links, we may receive a small commission, with no additional charge to you.
Materials Needed
Paint brushes and paint Pallets
Acrylic paints (pink, purple, blue, white, yellow)
Circular objects (cups, bottle caps, toilet paper rolls)
Step 1: Preparing the Canvas
Start off by covering the entire canvas with a black base coat. Take your time to ensure that the canvas is fully and evenly coated. Once done, set it aside and let it dry completely. It’s important to have a solid black background for our bubbles to pop!
Step 2: Bubble Creation
To create the bubble shape, gather any circular objects you have lying around your house. It can be cups, bottle caps, or even toilet paper rolls. Anything with a rounded shape will work just fine.
Step 3: Printing the Bubbles
To create perfect little circles, paint the edges of those objects with white paint. Then, press them onto the canvas wherever you’d like your bubbles to be. Don’t worry about the arrangement, you have the creative freedom to choose. Keep adding more circles until you are satisfied with the overall look of your painting.
Step 4: Colouring the Bubbles
Now it’s time to add some colour to our bubbles! Start by placing pink, purple, blue, white, and yellow lines on two opposite sides of each circle. Begin with pink and fill in all the bubbles along the sides, leaving a small gap between the edge of the bubble and the pink line. Move on to adding purple lines, above or below the pink lines. They don’t have to be the same length, so get creative! Remember not to let the lines on the right and left sides of the bubbles touch. Next, add blue lines to only one side of the bubbles. After that, add white lines to every bubble. Finally, add yellow lines inside each bubble, trusting the process and letting the colors come together.
Step 5: Adding Depth
To give our bubbles a 3D effect, mix pink with white to create a very light pink color. Paint thick short lines on the right and left sides of each bubble, in the middle of the previously painted lines. This will enhance the depth of the bubbles and make them pop out even more.
Step 6: Finishing Touches
For the finishing touches, use the back of your paintbrush to add dots within the bubbles and in the background as well. This adds a touch of realism and an extra sparkle to your painting. You can also get creative and draw tiny stars in a few bubbles to make them look even more magical.
Conclusion
We hope you had as much fun creating this artwork as we had guiding you through the process. Remember, the journey of creating art is just as important as the final result. Keep exploring your creativity and enjoy the magic of painting!
Below you will find YouTube video for kids and beginners, just click and enjoy creating your own beautiful bubbles with this step by step video tutorials. Happy painting, young artists!
